How to Make Potions in Minecraft: Brewing Guide
 joynalbokhsho
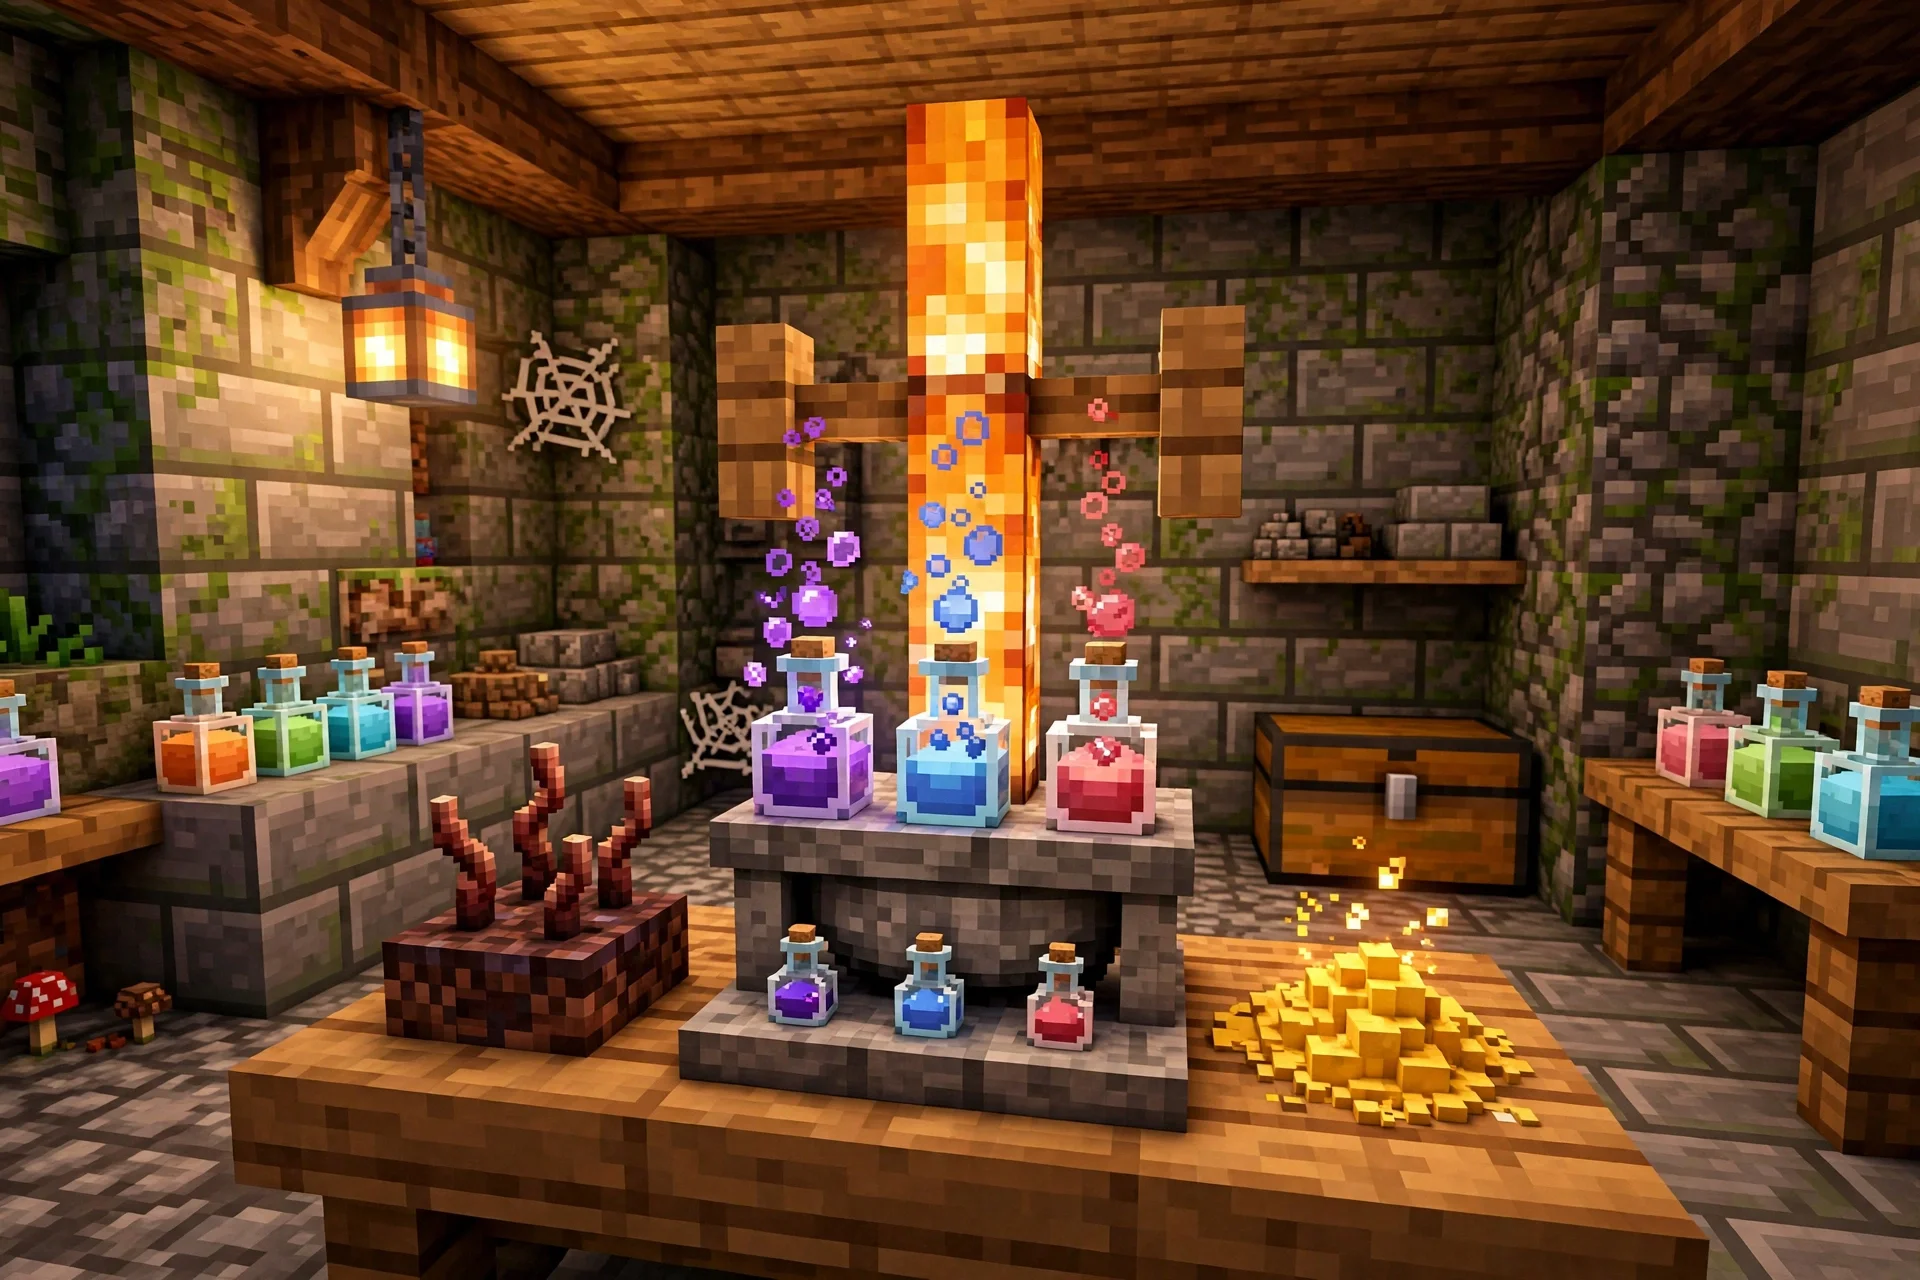
Potions are one of the most useful tools in Minecraft survival. A single bottle can heal you in a fight, let you run faster, breathe underwater, or turn invisible. This guide explains how to make potions in minecraft from your first brewing stand to your first useful potion, with the exact recipes that new players actually need.
If you have never brewed before, do not worry. Learning how to make potions in minecraft takes one trip to the Nether and a few minutes of practice. Once you understand the base potion, the rest is just adding one ingredient at a time.
What You Need Before You Brew
Before you start, gather this gear. You need a brewing stand, which is crafted from one blaze rod and three cobblestone blocks. Blaze rods drop from blazes in Nether fortresses, so bring decent armor and a bow for that trip. You also need glass bottles, crafted from three glass blocks, and a water source to fill them. Cauldrons can also fill bottles, but a water bucket or a nearby river is simpler.
The fuel for brewing is blaze powder, made by crafting a blaze rod. Each piece of blaze powder fuels 20 brewing operations, so one rod goes a long way. The most important ingredient is nether wart, which grows in Nether fortresses and can be planted on soul sand back home. Without nether wart, you cannot make the awkward potion that most useful potions start from. Plant a small nether wart farm on soul sand near your base so you never run out.
How to Make Potions in Minecraft: Step by Step
Here is the core loop for how to make potions in minecraft. Every potion follows the same pattern: fill bottles with water, brew a base potion, then add an effect ingredient.
1. Set up the brewing stand
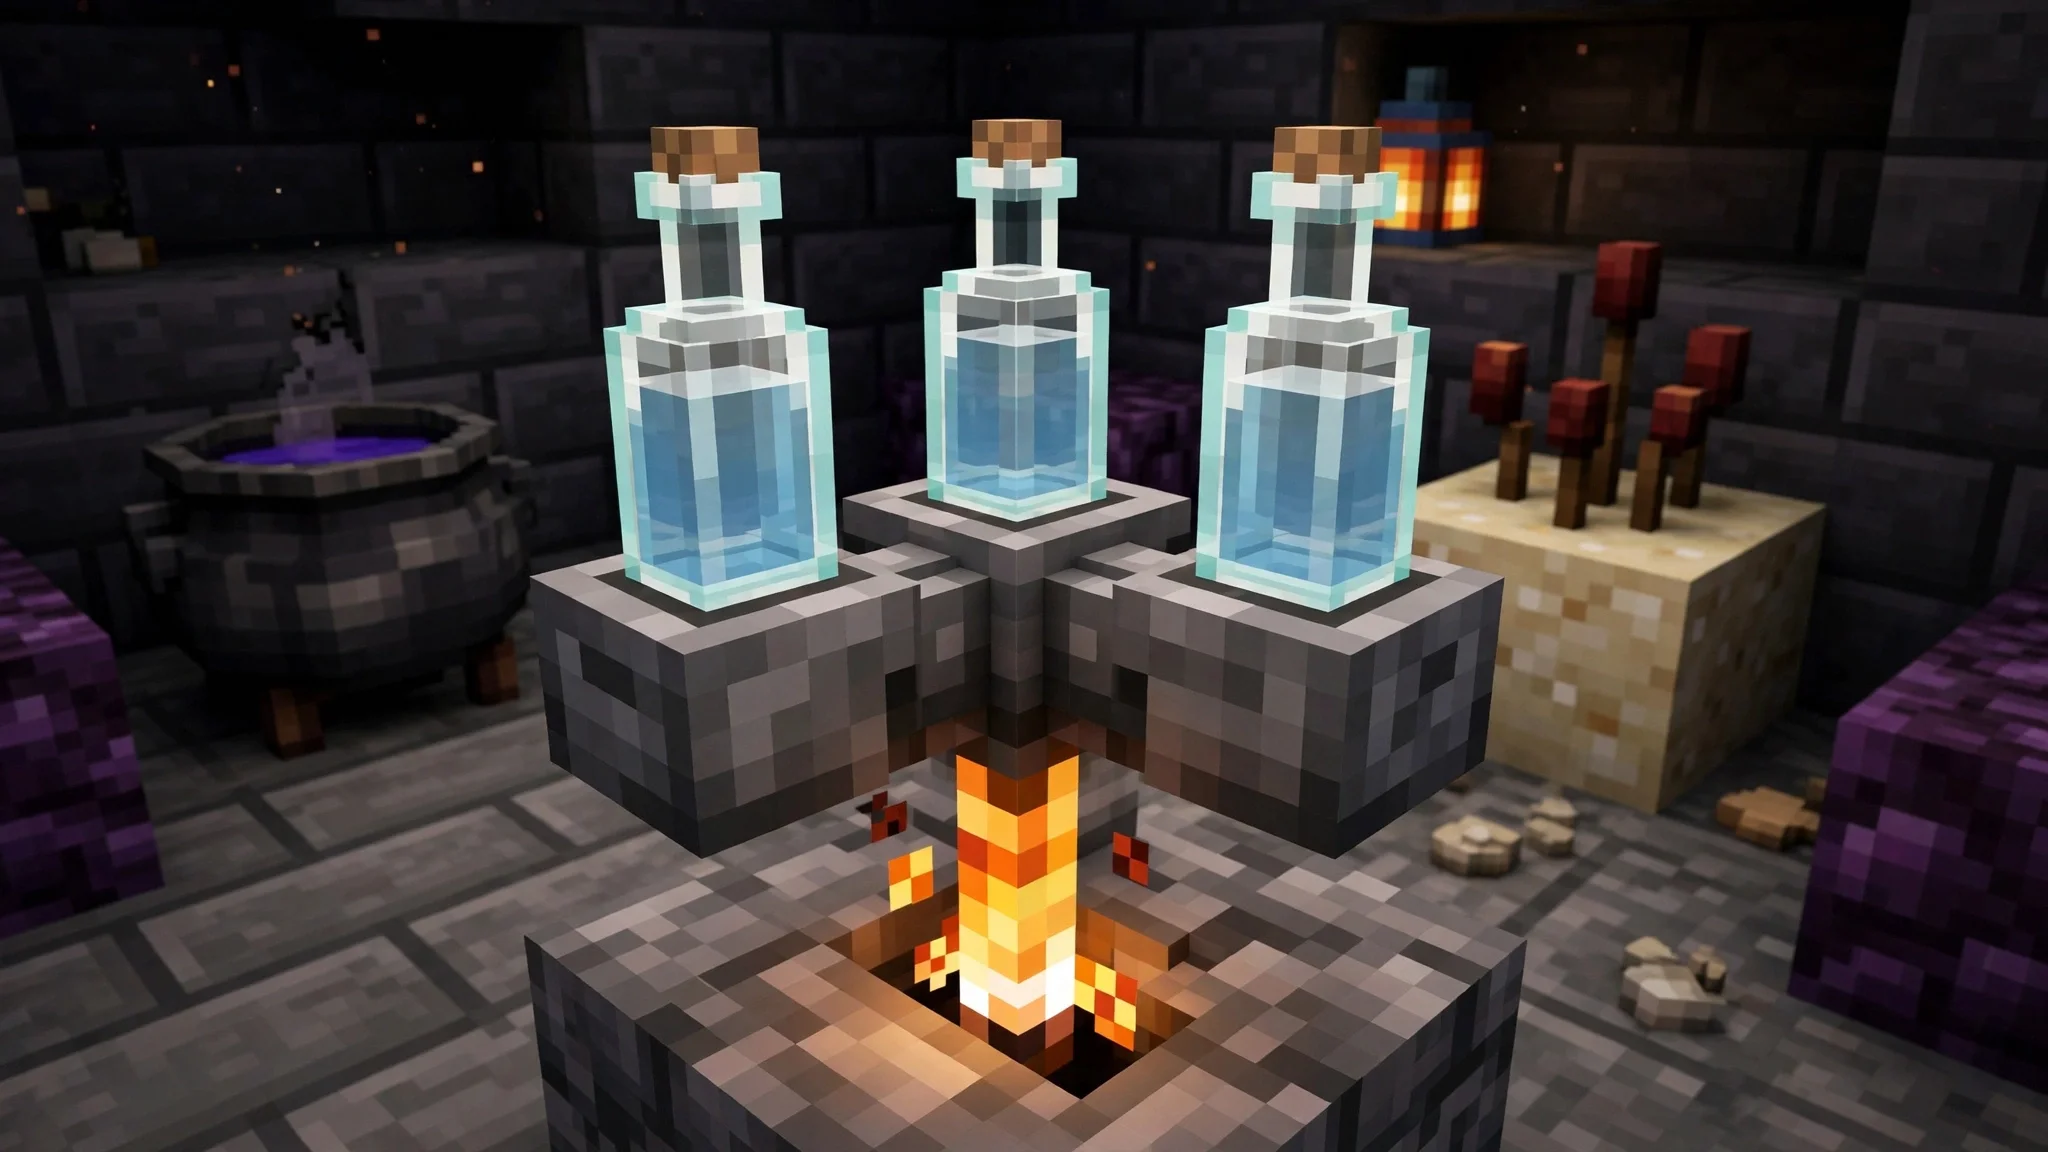
Place the brewing stand and put blaze powder in the fuel slot on the left. Put three water bottles in the three bottle slots at the bottom. You can brew one, two, or three bottles at once, and brewing three at once costs the same ingredients as brewing one, so always fill all three slots when you can.
2. Brew an awkward potion
Add nether wart to the ingredient slot at the top. Wait for the brewing arrow to finish. Your water bottles become awkward potions. An awkward potion has no effect on its own, but it is the base for almost every useful potion in the game. This is the step that trips up new players, because skipping it and adding an effect ingredient straight to a water bottle usually gives a mundane potion that does nothing useful.
3. Add an effect ingredient
Now add the ingredient for the effect you want. Glistering melon slice makes a Potion of Healing. Sugar makes a Potion of Swiftness. Blaze powder makes a Potion of Strength. Golden carrot makes a Potion of Night Vision. Pufferfish makes a Potion of Water Breathing. Magma cream makes a Potion of Fire Resistance. Spider eye makes a Potion of Poison, and a fermented spider eye added to most potions turns it into a corrupted version, for example Poison becomes a Potion of Harming.
4. Strengthen or extend the potion
Once you have a basic effect potion, you can change it again. Redstone dust extends the duration, for example a 3 minute Swiftness potion becomes 8 minutes. Glowstone dust upgrades the effect level, for example Healing I becomes Healing II, but it usually shortens the duration. You cannot use both redstone and glowstone on the same potion, so pick duration or power based on the job. For boss fights, power often wins. For exploring, duration usually wins.
5. Make splash or lingering potions if you need them
Add gunpowder to a potion to turn it into a splash potion, which you throw instead of drinking. Add dragon's breath to a splash potion to make a lingering potion, which leaves a cloud on the ground. Splash potions are great for healing teammates or throwing harming potions at enemies. Most solo players can skip lingering potions until late game, because dragon's breath requires beating the Ender Dragon.
Best Potions to Brew First
If you are just starting, brew these five first. They cover healing, movement, and survival, and they are cheap to make once you have a nether wart farm.
First, Potion of Healing. It restores health instantly, which makes it the best emergency potion in the game. Brew awkward potion plus glistering melon slice, then add glowstone for Healing II if you want a bigger instant heal.
Second, Potion of Swiftness. Sugar plus awkward potion gives you a speed boost for running, exploring, and escaping danger. Add redstone for the 8 minute version, which is perfect for long trips.
Third, Potion of Fire Resistance. Magma cream plus awkward potion lets you swim in lava for several minutes. This is essential for Nether exploring, Bastion looting, and building in lava areas. It is also a lifesaver if you fall into lava by accident.
Fourth, Potion of Water Breathing. Pufferfish plus awkward potion lets you breathe underwater, which makes ocean monument raids and underwater building far easier. Pair it with Night Vision from a golden carrot for the best underwater experience.
Fifth, Potion of Strength. Blaze powder plus awkward potion increases your melee damage, which helps in boss fights, raids, and PvP. Strength II from glowstone is a serious damage boost, but it only lasts 90 seconds, so save it for the fight itself.

Players who master how to make potions in minecraft usually keep a small brewing room stocked with nether wart, blaze powder, redstone, glowstone, and the ingredients above, so brewing a new batch takes seconds instead of a farming trip.
Common Mistakes to Avoid
The most common mistake is forgetting fuel. The brewing stand does nothing without blaze powder in the fuel slot, even if all the other slots are correct. The second mistake is brewing only one bottle at a time. Always brew three, since the ingredient cost is the same. The third mistake is adding glowstone and redstone in the wrong order or trying to use both. Pick one, and remember that adding a new ingredient after redstone or glowstone can reset or change the potion in ways you did not expect, so check the result before you brew a full batch.
Another mistake is drinking the wrong potion in a fight. Players learning how to make potions in minecraft should keep their stock organised from the start, because a mixed-up chest causes mistakes at the worst moment. Splash potions of Harming look similar to Healing potions at a glance, so label your chests and keep harming potions away from your healing stock. Finally, remember that undead mobs react backwards to healing and harming. Healing potions damage zombies and skeletons, while Harming potions heal them, which is a fun trick for fighting undead mobs.
FAQ
Do you need to go to the Nether to make potions?
Yes, for most useful potions. You need blaze rods for the brewing stand and fuel, and nether wart for the awkward potion base. A few potions, like Mundane potions, can be made without Nether items, but they have no useful effect. Plan one Nether trip with good gear, grab extra blaze rods and nether wart, and you are set for a long time.
What is the difference between redstone and glowstone in brewing?
Redstone extends a potion's duration. Glowstone increases its power level, usually while shortening its duration. You can only apply one of them to a given potion, so choose based on what you need: longer exploration potions get redstone, combat potions often get glowstone.
Can you brew potions on both Java and Bedrock?
Yes. The brewing stand, awkward potion, and main recipes work the same on Java Edition and Bedrock Edition. The brewing stand interface looks slightly different between versions, but the ingredient order and results are the same.
Why did my potion do nothing?
You probably brewed a mundane or thick potion by adding an ingredient to a water bottle without making an awkward potion first, or you added an ingredient that does not change that base. That base step is the key to how to make potions in minecraft work every time.
Start Brewing on BD ZONE
Now that you know how to make potions in minecraft, set up a brewing stand at your base, plant some nether wart, and brew your first batch of healing and swiftness potions. Potions turn hard fights into easy ones and long trips into quick ones, and they are a skill every survival player should learn. If you play on BD ZONE, share your favourite potion recipes with other players on our Discord at https://discord.gg/QzhjgYZNGs. Join the server at PLAY.BDZONEMC.COM and happy brewing.