How to Make a Raid Farm in Minecraft: Easy Guide
 joynalbokhsho
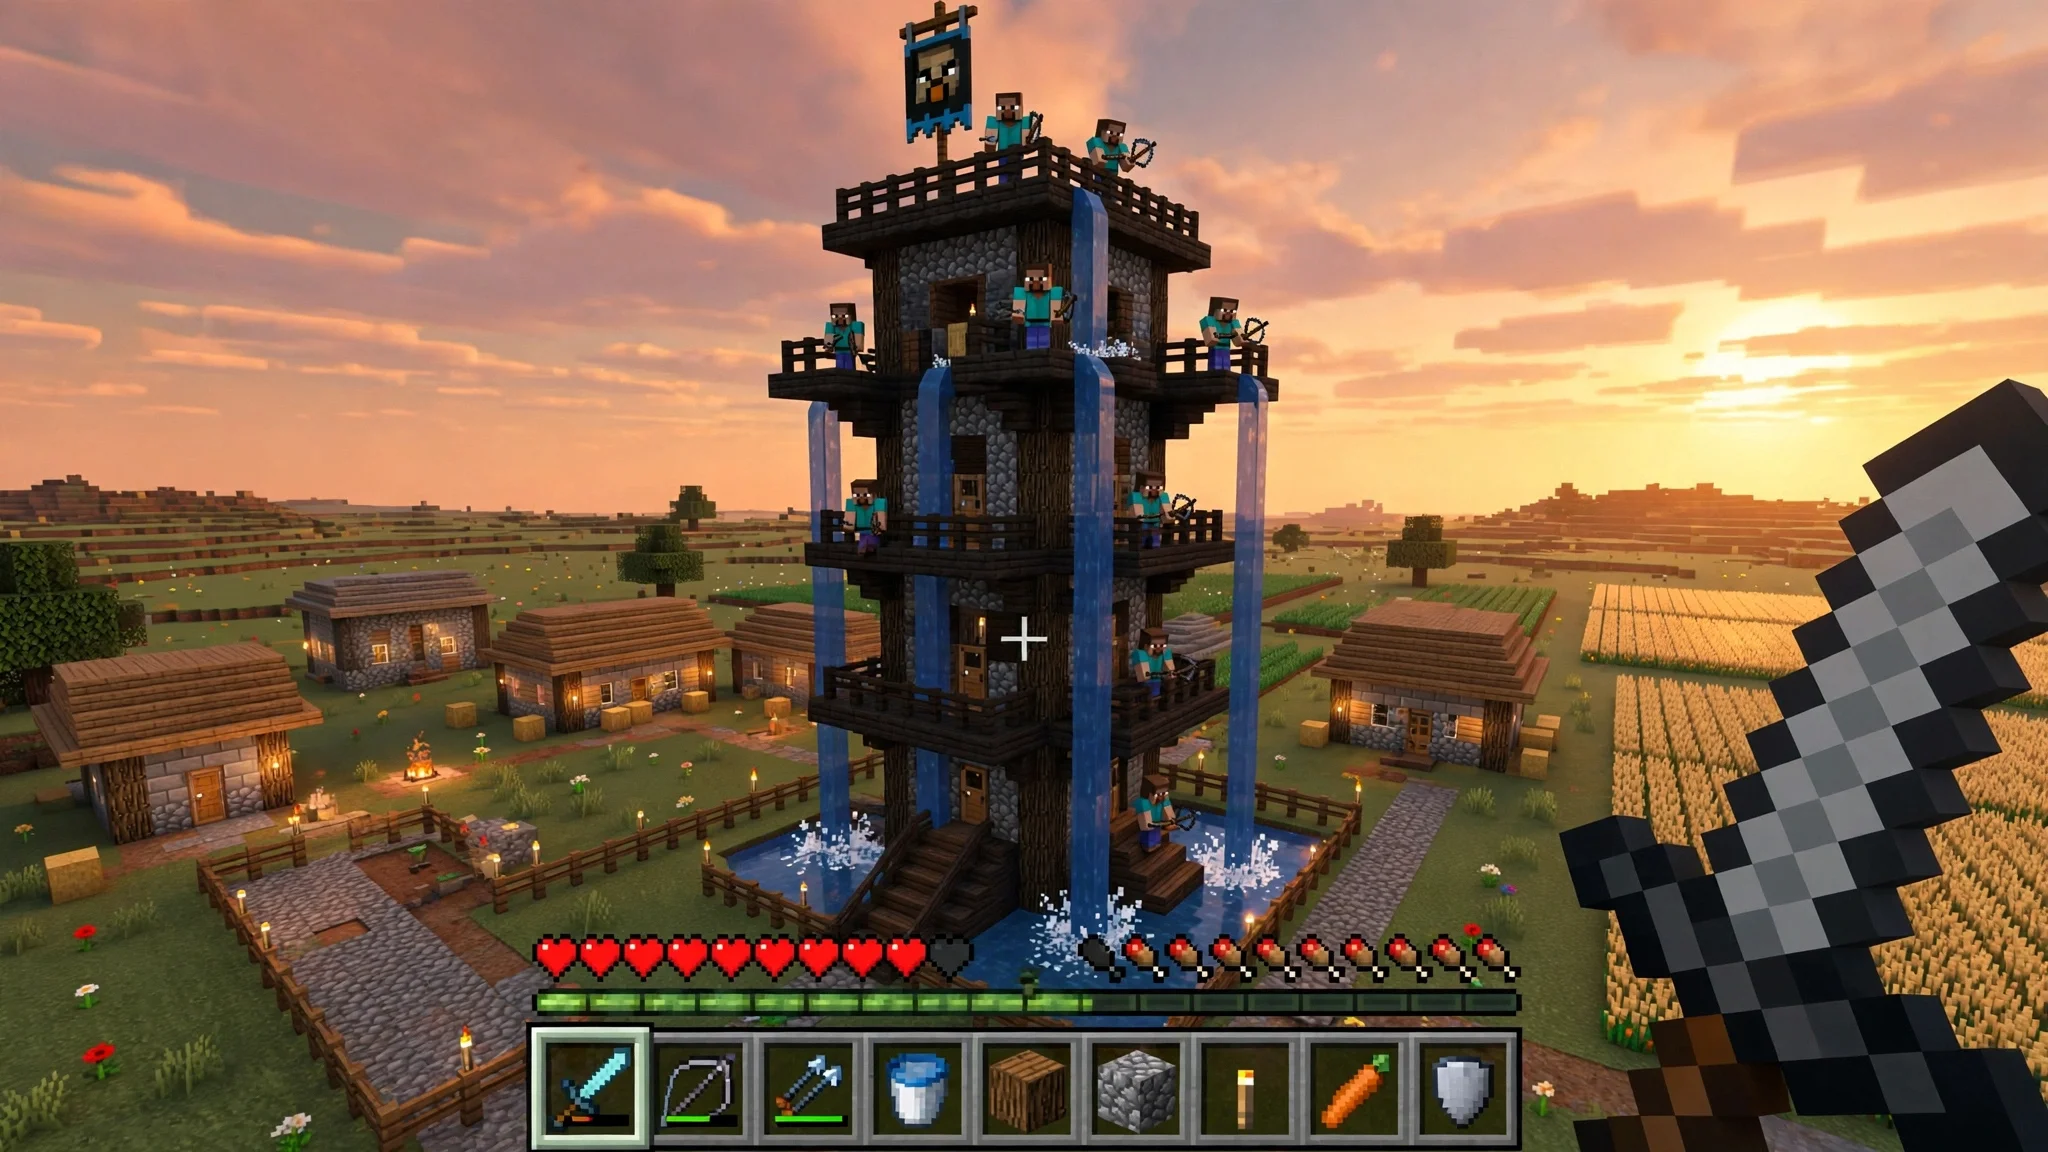
A raid farm turns the hardest village event in Minecraft into your best source of emeralds, totems of undying, and enchanted gear. Instead of fearing raids, you build a machine that starts them on your terms, funnels every pillager into one spot, and lets you collect the loot safely. This guide shows you how to make a raid farm in Minecraft with a simple design that works in survival, needs no redstone degree, and can be built in an afternoon.
How to Make a Raid Farm in Minecraft: The Idea
A raid starts when a player with Bad Omen walks into a village. Pillagers, vindicators, evokers, and ravagers spawn in waves around the village center and hunt the villagers. A raid farm controls that chaos. You build a spawning platform high above a village, so raiders appear on the platform instead of scattered around the houses. Water streams push them off the edge into a small killing chamber, where you finish them off one by one. The loot drops into hoppers, the villagers stay safe in a bunker, and the raid ends in minutes. That is the whole trick behind how to make a raid farm in Minecraft, and once you see it run once, you will wonder why you ever fought raids in the open.
What You Need Before You Build
Gather these materials first so the build is one smooth session:
- A village with at least one villager and one bed. The bed and villager are what make the game count the spot as a village, and the raid needs a village center to trigger.
- About 3 stacks of building blocks (cobblestone or stone bricks work well and look good).
- 2 water buckets, 2 lava buckets (optional, for an auto-kill version), and a few trapdoors.
- Hoppers (at least 8), chests (at least 4), and a slab or two for the killing chamber.
- A raid captain nearby, or an ominous bottle, to get Bad Omen and start the raid.
- Good armor, a sharp sword, food, and a totem of undying for your first test run.
- A safe way up and down, like a water elevator or a ladder with a trapdoor at the top.
Pick a flat area next to the village, at least 40 blocks away from any other village, bed, or villager, so the game does not get confused about which village the raid belongs to.
Step 1: Protect the Villagers
Before anything else, move your villagers into a safe room. Dig a small bunker under the village or wall off one house with solid blocks and a bed inside. Raiders target villagers, so if even one villager is exposed, the raid waves will split and pillagers will run everywhere. One villager and one bed, locked safely away, is enough to keep the village registered and the raid focused on your farm. This step is the part most players skip, and it is the reason most first raid farms fail. Learning how to make a raid farm in Minecraft starts with keeping the villagers alive, because a village with no villagers ends the raid early and wastes your Bad Omen.
Step 2: Build the Spawning Platform
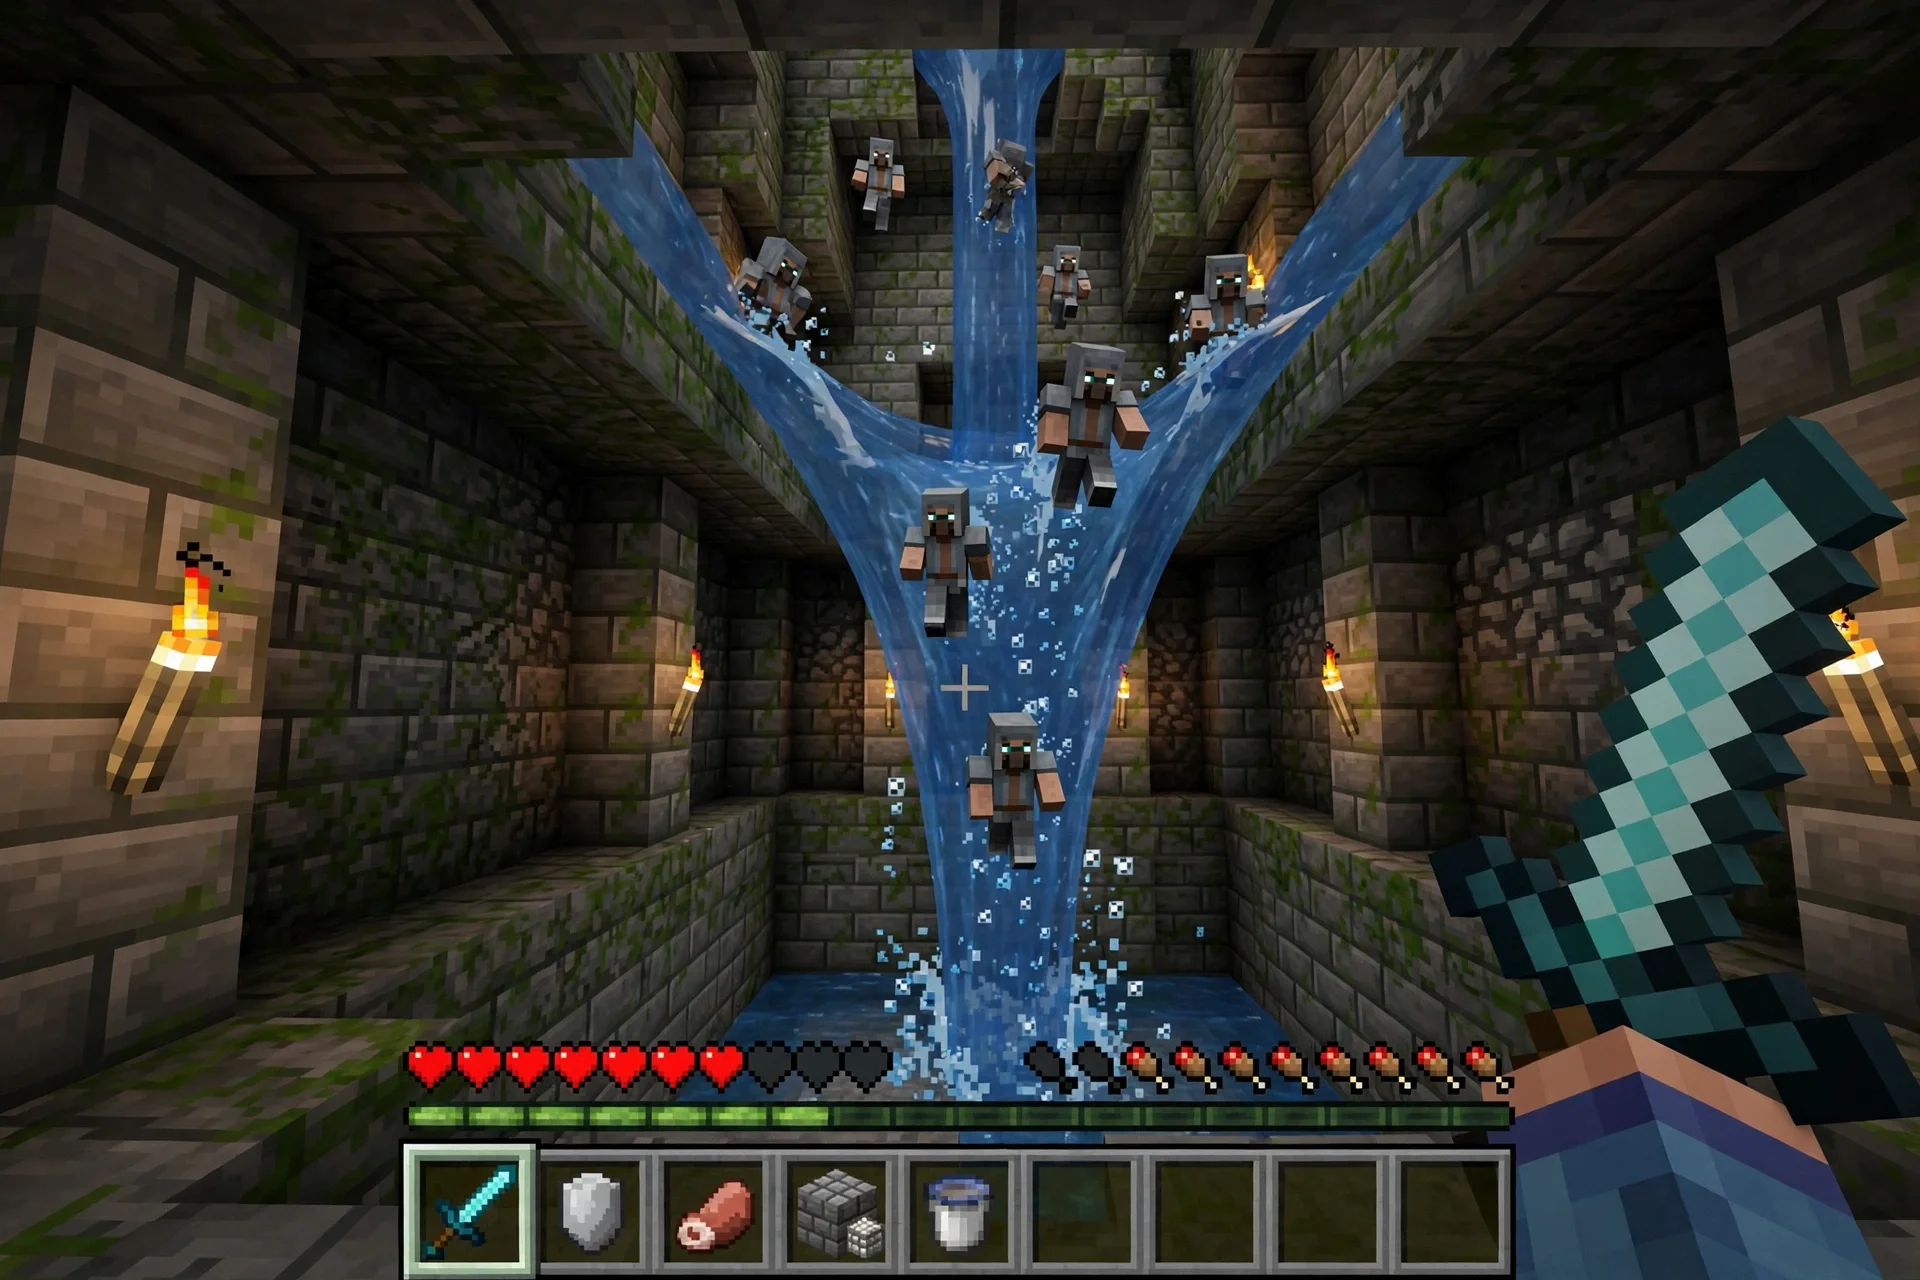
Build a tower up from the ground next to the village, about 60 to 70 blocks high, then build a flat spawning platform at the top. The platform should be about 16 by 16 blocks, made of solid blocks with no light sources on it, so pillagers can spawn there in the dark. Leave a 2-block-high gap around the edges with water streams flowing inward, so anything that spawns gets pushed toward a hole in the middle. That hole is the drop chute. Pillagers fall through it into a water stream below, which carries them down to your killing chamber at ground level. Build the platform from the bottom up, place the water at the edges last, and test the flow with a few spare blocks before you call it done.
Step 3: Build the Killing Chamber
At the bottom of the drop chute, build a small room with hoppers in the floor feeding into chests. Leave a 1-block-high gap at eye level so you can hit the pillagers' feet while they cannot reach you. A slab on the floor keeps baby pillagers (there are none, but ravagers are tall) at the right height, and a trapdoor above the gap stops anything from jumping out. Place your hoppers under the exact spot where the pillagers land, then connect them to a row of chests. Every emerald, crossbow, saddle, and totem will flow into storage while you swing your sword. Add torches around the chamber so nothing else spawns in the dark corners, and keep a bed nearby so you can set your spawn before the first test.
Step 4: Start the Raid and Collect the Loot
Now for the fun part. Get Bad Omen by killing a raid captain (the pillager carrying a banner) or by drinking an ominous bottle, then walk into the village area under your farm. The raid horn sounds, and the first wave spawns on your platform, slides into the water, and drops into your chamber. Kill each wave as it arrives. Evokers drop totems of undying, vindicators drop emeralds, and pillagers drop crossbows and arrows. Between waves you have a short break to eat, repair, and empty your inventory. A full raid is 5 waves on Easy, 7 on Normal, and 7 on Hard, and a good farm clears all of them in about 10 minutes. When you finish a raid and you know how to make a raid farm in Minecraft, you walk away with stacks of emeralds, several totems, and a Hero of the Village discount at your trading hall.
What Loot Does a Raid Farm Give You?
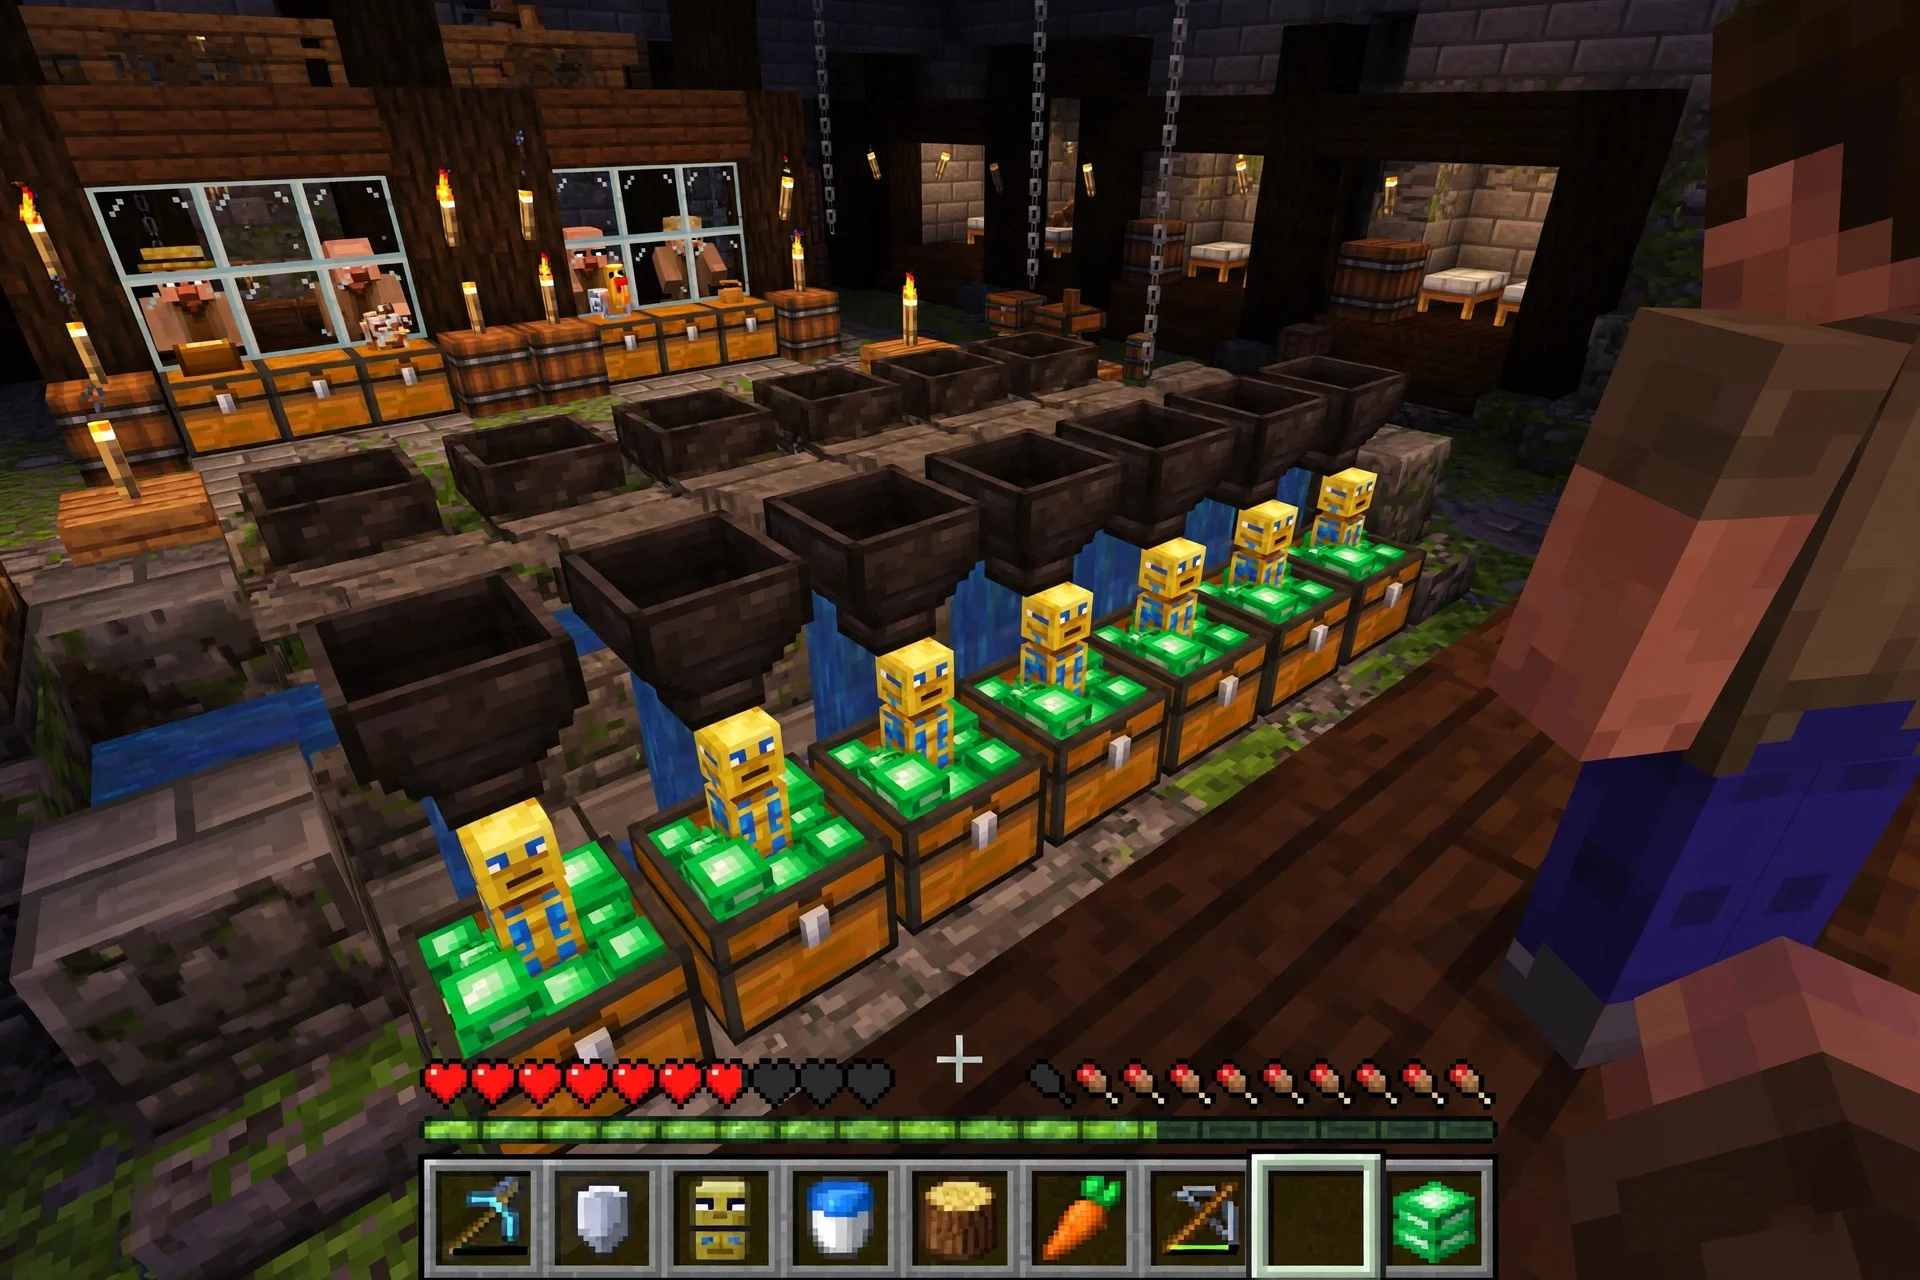
A single full raid usually gives you 30 to 60 emeralds, 1 to 3 totems of undying from the evokers, several enchanted crossbows and books, saddles, arrows, and a pile of iron and leather. Run the farm three or four times and you will have enough emeralds to buy out a whole librarian trading hall. The totems are the real prize, because they are the only renewable way to get them, and each one saves you from a fatal hit. On Hard difficulty the waves are bigger and the loot is better, so once your chamber is safe, run it on Hard every time. The Hero of the Village effect also drops trading prices for a few in-game days, which is the perfect time to stock up on enchanted books and gear.
Common Mistakes and How to Avoid Them
- Villagers in the open: if a villager can be reached, raiders scatter. Keep them in a sealed room with a bed.
- Platform too bright: any torch on the spawning platform stops spawns. Light the tower and the ground, never the platform itself.
- Wrong height: if the platform is too low, pillagers spawn on the ground instead. Stay above 60 blocks.
- No Bad Omen ready: you need a raid captain or an ominous bottle before each run. Keep a spare bottle in a chest at the farm.
- Fighting in the open: never fight the waves outside the chamber. Vindicators hit hard, and one bad knockback can end the run.
- Forgetting the bell: a bell in the village shows you where raiders are, and it is handy if a wave ever spawns off the platform.
FAQ
Do raid farms work on Bedrock?
Yes, with a different design. This guide is for Java Edition, where raiders spawn on the platform above the village. Bedrock raiders spawn differently, so Bedrock players should use a Bedrock-specific design.
How do I get Bad Omen in the latest version?
Kill a raid captain, the pillager with the banner, or drink an ominous bottle. Raid captains drop the bottles, and bottles are also found in trial chambers.
Can a raid farm break my village?
No, as long as the villagers are protected. Raiders cannot reach a sealed bunker, and the village stays registered the whole time.
How many totems can I get per raid?
Usually 1 to 3, one per evoker that spawns. Hard difficulty spawns more evokers, so run it on Hard for the best totem rate.
Is a raid farm worth it if I already have a trading hall?
Yes. The emeralds fund your trades, the totems protect your hardcore runs, and the Hero of the Village discount saves you emeralds on every purchase.
Come Farm Raids With BD ZONE
Raids are more fun with friends, and on BD ZONE you never have to build alone. Join the server at PLAY.BDZONEMC.COM, claim your land with a golden shovel, and bring your raid farm questions to the community on Discord at https://discord.gg/QzhjgYZNGs. Our Survival players share farm designs, trade emeralds, and run raid nights together, so your first farm can be a team build instead of a solo grind. See you in the village, and happy farming.